Blackguard Sound specializes in immersive field recording. We’ve tried several techniques including Double Mid Side, 1st Order Ambisonics, and 2nd Order Ambisonics. We’ve even experimented with recording a solo cello with 17 mics configured for immersive playback (but that’s a separate post)! Our current favorite solution is the Sennheiser AMBEO 1st Order Ambisonics mic. Read on to find out why the AMBEO is our go-to mic for projects all over the world.
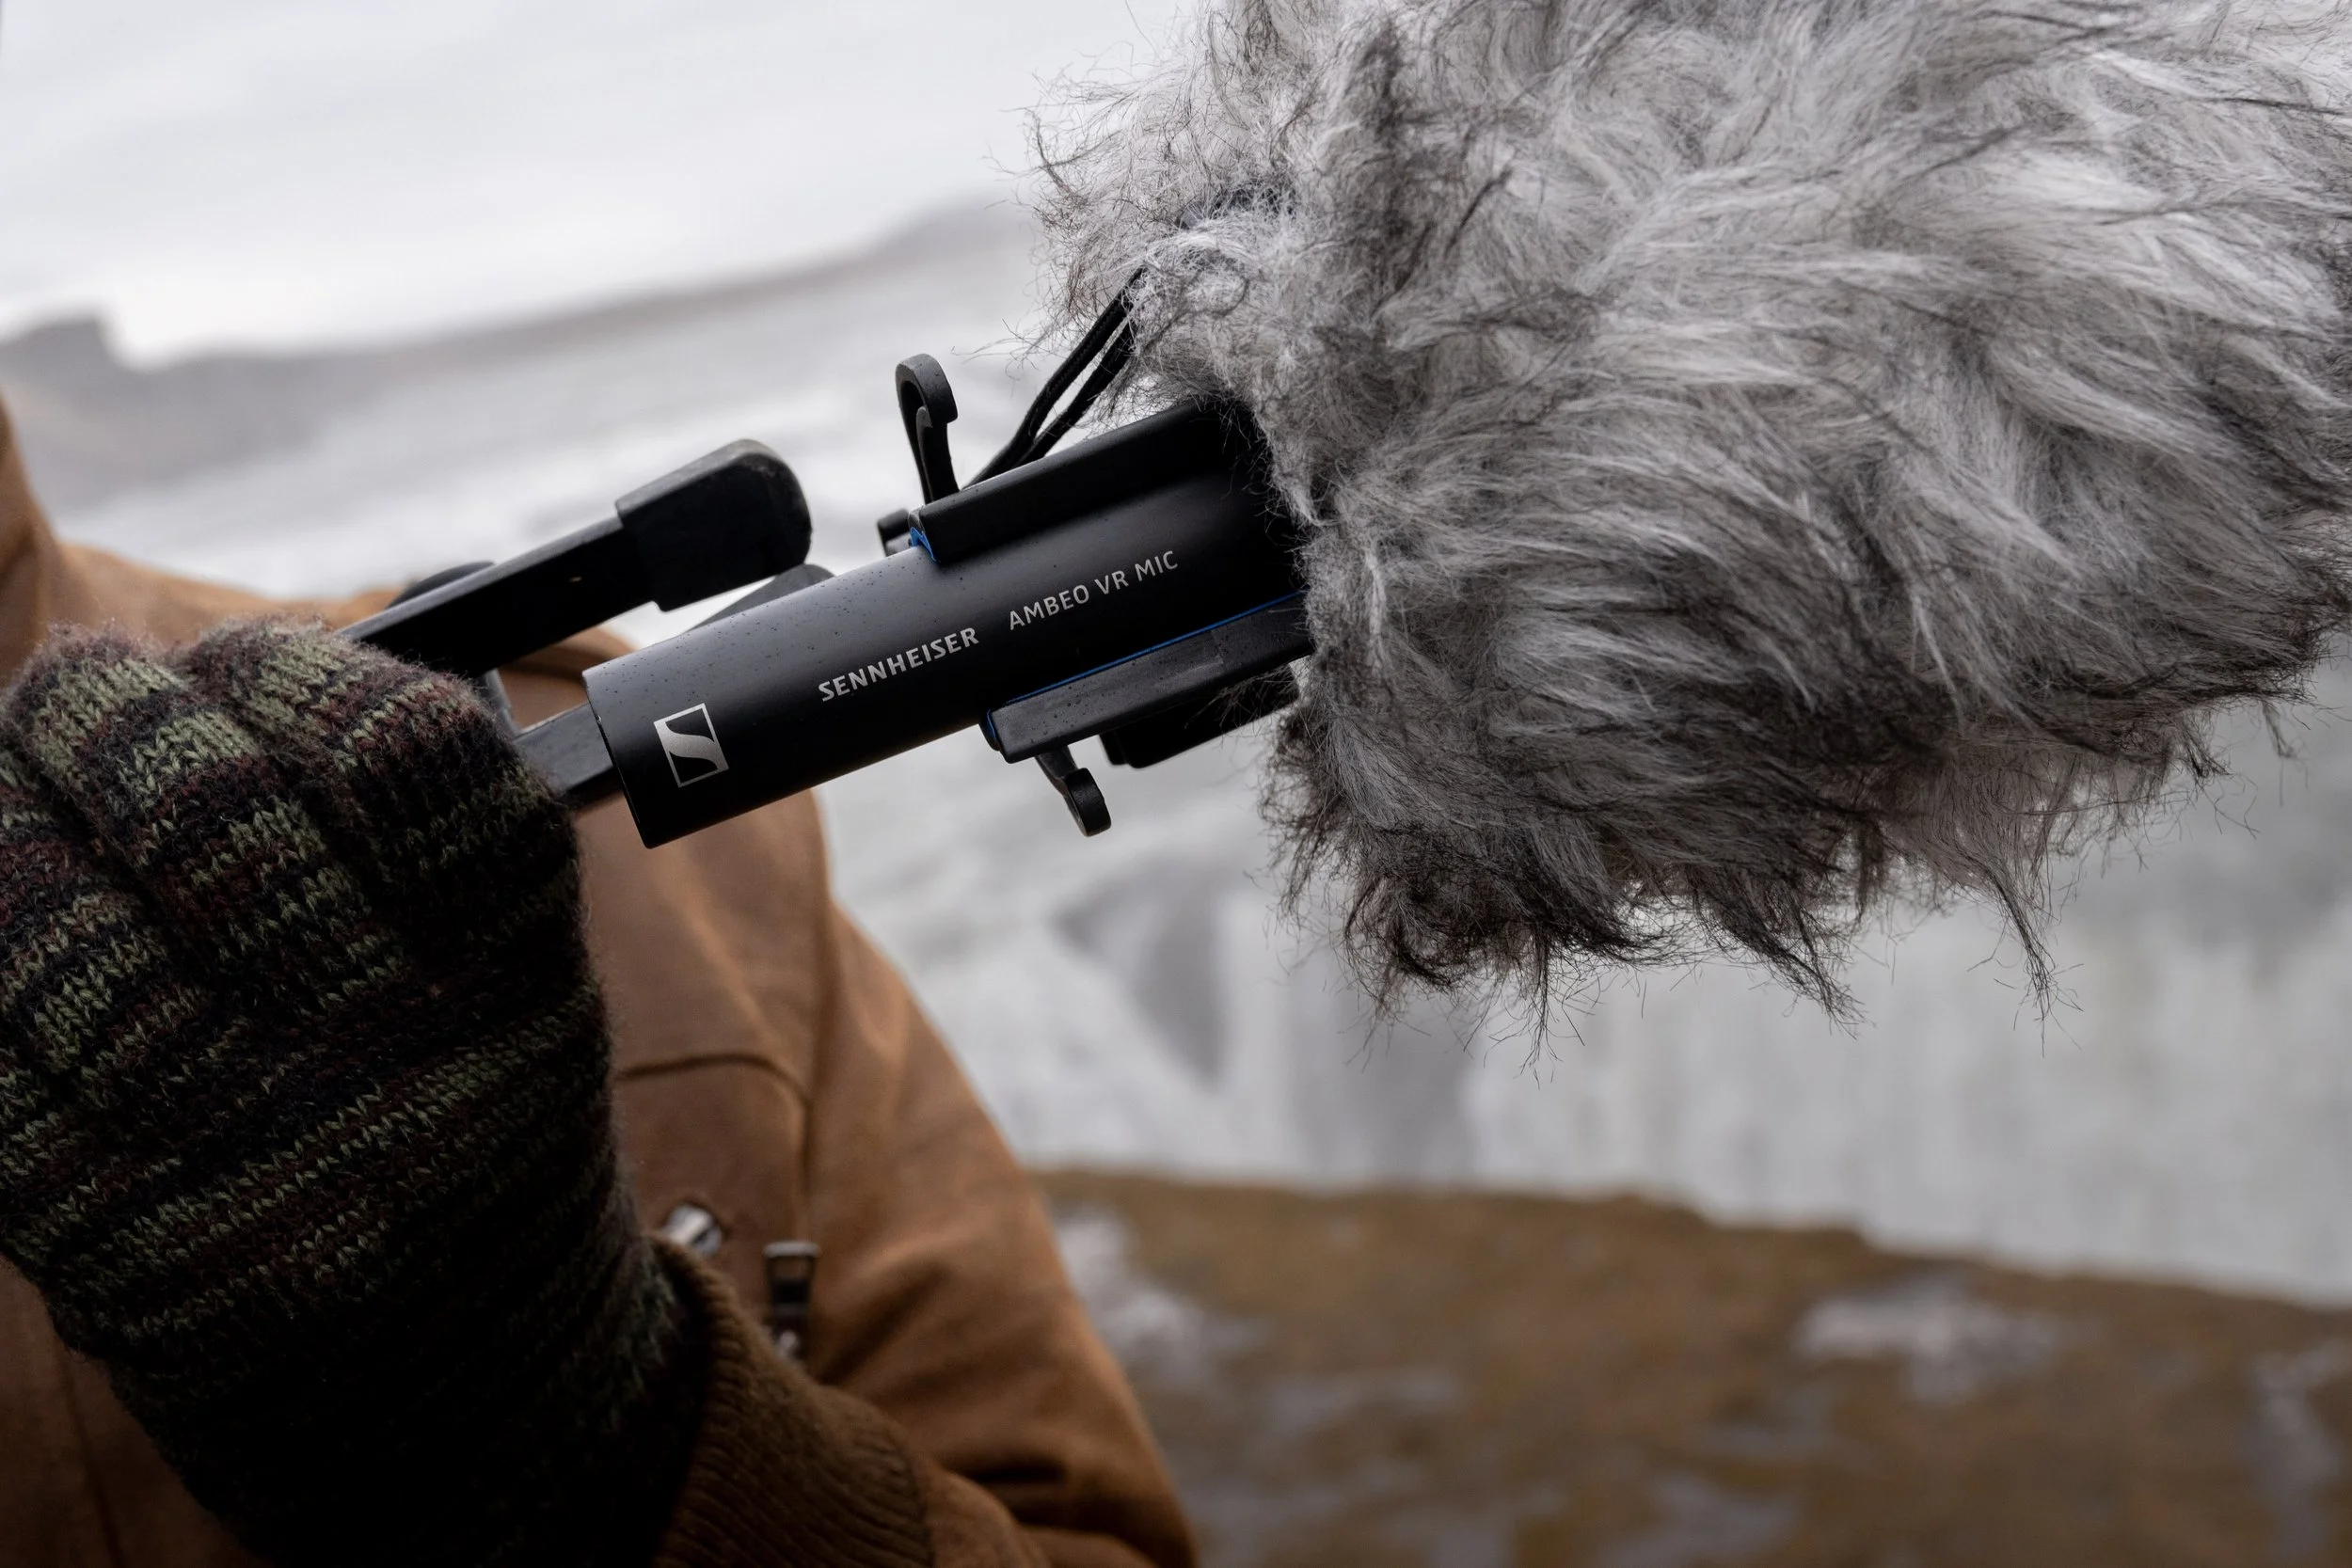
Sennheiser AMBEO on location in Iceland
Why Sennheiser AMBEO?
Flexibility
We wanted the ability to deliver B-Format for immersive media, 5.1 or 7.1.4 for post, and stereo for YouTubers. The Sennheiser AMBEO allows us to bring one mic and generate all of these assets without complicated (and heavy) mic bars, multiple stands, careful measurements etc. We’ve recorded in different surround formats over the years and AMBEO is the only thing portable enough for the tough locations we tend to record.
Sound quality
We’re very happy with AMBEO’s sound quality. Low end power and high end details are equally well preserved. Upon properly decoding to 7.1.4, the surround image is immersive and accurate. Peers that have tried other Ambisonic mics are consistently impressed with what we get from the AMBEO.
Build quality
This is the big one! Sennheiser microphones are unmatched when it comes to harsh conditions. We’ve exposed our trusty AMBEO to some incredibly dangerous conditions over the years. From the Florida Everglades in the summer to northern Iceland in a blizzard to literally being dumped on by a waterfall in Australia, it has held up beyond all reasonable expectations, oftentimes stuffed in a backpack or hand-carried out in the elements. On a recent trip to Northern California, a rogue wave knocked the entire stand, mic and all, into the Pacific Ocean. And yet the AMBEO survives. It is the undisputed Die Hard John McClane of microphones.
Jason setting up an AMBEO with Cinela Wind Protection in Thorsmork, Iceland
Recommended Accessories
12-Pin Extension Cable - 3 meter
The 12-pin to 4x XLR fanout cable is a sensitive spot in the setup. I find the fanout cable to be susceptible to a high amount of handling noise. The best way to avoid this is keep the fanout completely within the sound bag, which means you will need a long enough 12-pin extension to connect to the mic, run down the stand, and into the bag.
Cinela Piani AMBEO Windshield Kit
This product was a game changer for us! The wind noise reduction is unbelievable. It handles near gale-force winds with ease. We pushed it to its limits (and a little beyond) in Iceland and I was honestly amazed at where that limit is. The shockmount is incredible and the connbox eliminates virtually all handling noise. Pricey, but worth every bit. Also, be sure to check out the Piani Kelly Rain Cover. We confidently recorded behind waterfalls and exposed in the rain knowing that the mic would be protected and the sound quality would be preserved.
Sound Devices MixPre 6 II
The perfect companion for the AMBEO. The sound quality is impeccable and the Ambisonics plugin makes recording as easy as possible. Direct conversion to B-Format saves a ton of time in post. Linking the gain for all four inputs ensures good imaging. Binaural monitoring gives us the confidence we need in the field. It doesn’t hurt that it’s also extremely tough.
Some of the best tools for mastering Ambisonics
Mastering Ambisonics
I’ve read some complaints in message boards about first-order Ambisonic recordings' ability to form a stable, immersive, multichannel image. I believe that with careful mastering it is possible to achieve excellent results! I’m currently decoding 1OA recordings to 7.1.4 and loving it. However, utmost care must be taken in the mastering process. Here are some things I’ve worked out through hard-fought trial and error:
First rule of Ambisonics!
Make sure you are keeping track of whether your B-Format is set to FuMa or AmbiX. It’s very easy to get this wrong and it will make the immersive image fall apart if your plugins are set to receive the wrong input type. AmbiX seems to be the more widely used flavor of B-Format and most plugins will default to that BUT ALWAYS CHECK!
Upscaling
The Audio Brewers ab Upscaler plugin is pure magic. It can take a 1st Order Ambisonics recording from the AMBEO (or any other 1OA mic) and upscale it all the way up to 7th order! The gains in spatial resolution are astounding. As a rule, I am highly skeptical of anything that claims to enhance an existing recording but Alejandro at Audio Brewers has figured out a way to do it in a simply breathtaking manner. Lately, I’ve been going up to 3rd Order (anything more and the number of channels gets a bit unwieldy) before decoding to my desired monitoring format. Just be sure to do any EQ or other processing BEFORE the Upscaler exponentially increases the number of channels!
Decoding
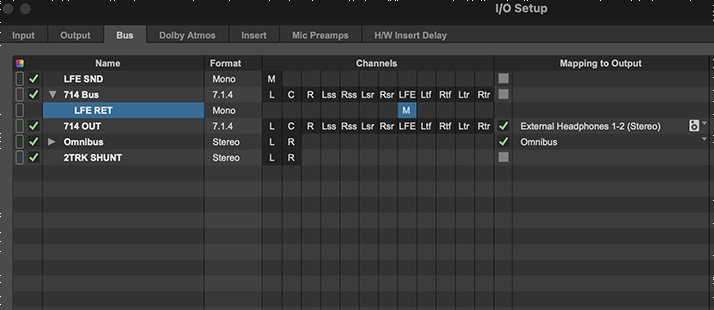
I use Audio Brewers ab HOA Decoder for decoding B-Format down to stereo, 5.1 or even 7.1.4. It is an amazing tool, but there are some important things to consider. First, be sure to monitor in whatever format you are decoding to. This will require that you do separate passes for the 7.1.4, 5.1 and 2.0 versions. Do not assume that the settings for one decode will work for the other. They often don’t! Next, be sure to rotate the image all the way around to make sure you’re achieving balance and focus. Despite my best efforts at mic setup, I rarely use zero degrees for the optimal ‘viewing’ angle. Finally, don’t be afraid to mess with the mic spacing angle, especially in the stereo render. Don’t be dogmatic - sticking to tried and true stereo miking methods - the best sounding result may be something unexpected.
EQ
I use Fabfilter Pro-Q3 for EQ duties. First, it supports multi-channel formats, which rules out many other EQ plugins (however, it will not support 1OA except in multi-mono mode - please fix that Fabfilter!). Next, it is a phase linear EQ, so it won’t mess with the time alignment of the 4 channels - very important if you want to preserve that immersiveness! Finally, it has a dynamic EQ function which is essential. I like to use a low shelf EQ set to dynamic mode to take care of intermittent bursts of low energy (like in wind or wave recordings) without sucking all the low end power out of the rest of the recording. AMBEO-specific tip: I find that the AMBEO has some buildup in the mid-500Hz range. I like to scoop out 3dB in this area to compensate. Be sure to use a light touch and listen carefully. If your EQ notch is too narrow or too deep some negative artifacts will be introduced. Never apply EQ without good reason and be mindful of the how and why.
Noise Reduction
I use iZotope RX for light noise reduction. Rule number one - never apply broadband noise reduction to an Ambisonic recording! There’s no quicker way to add artifacts, chirps, swirliness - whatever you want to call it. I limit my RX use to a few surgical functions when performing Ambisonic mastering. First, Spectral Repair, set to a conservative setting, can remove unwanted birds, ticks, clicks, pops and so on. Don’t expect it to completely remove every unwanted sound. You may have to concede that an unwanted sound will remain slightly audible or you may need to cut around it. Listen carefully and LOOK carefully. If Spectral Repair is cutting a hole in your spectrum, discerning ears will notice! I also use De-Plosive to take care of intense low-end energy. Be sure to set the frequency threshold based on the source material. Avoid the temptation to use De-Wind. It’s designed to remove wind noise from voice recordings - not wind recordings! It will leave musical artifacts all over the place near the cutoff frequency, which is tolerable in location dialog, but never in a nature recording!
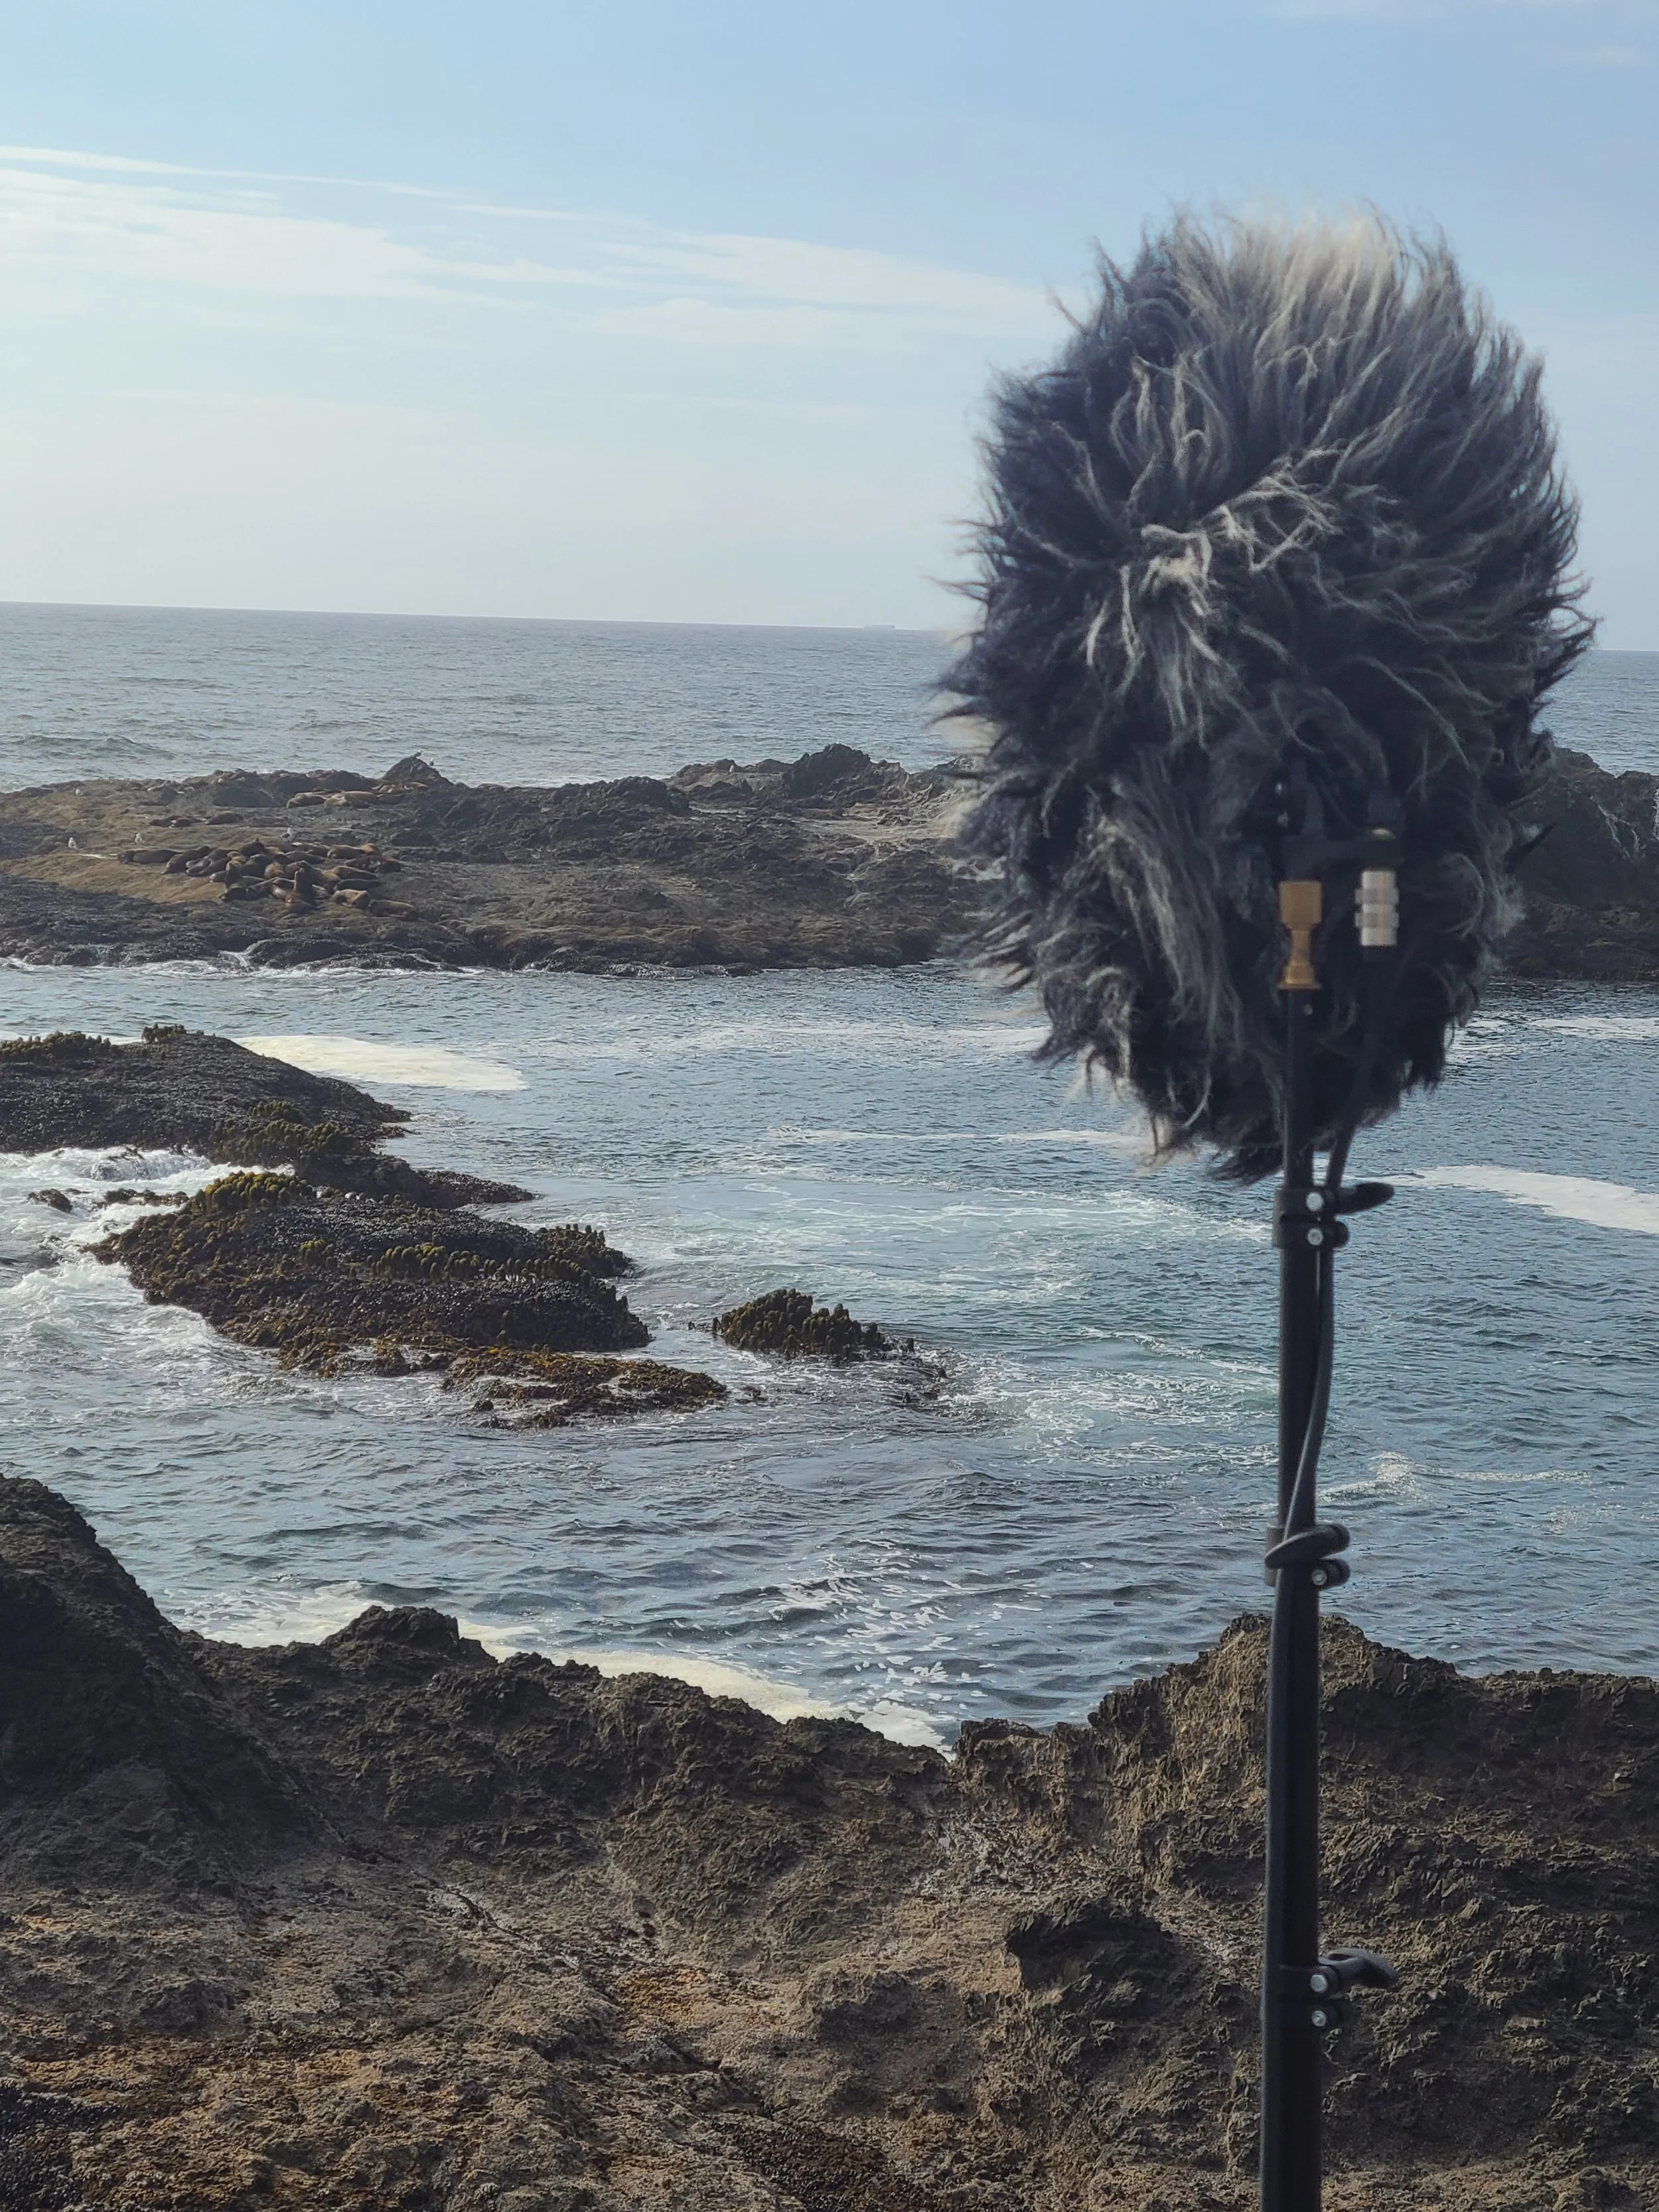
Sennheiser AMBEO on location Mendocino County, CA
In Conclusion
The Sennheiser AMBEO is a workhorse. Ambisonics recordings are underrated. Mic drop (don’t worry, it won’t break).
Check out our immersive ambience libraries or hire us for your next field recording expedition.


